Backpacking gear
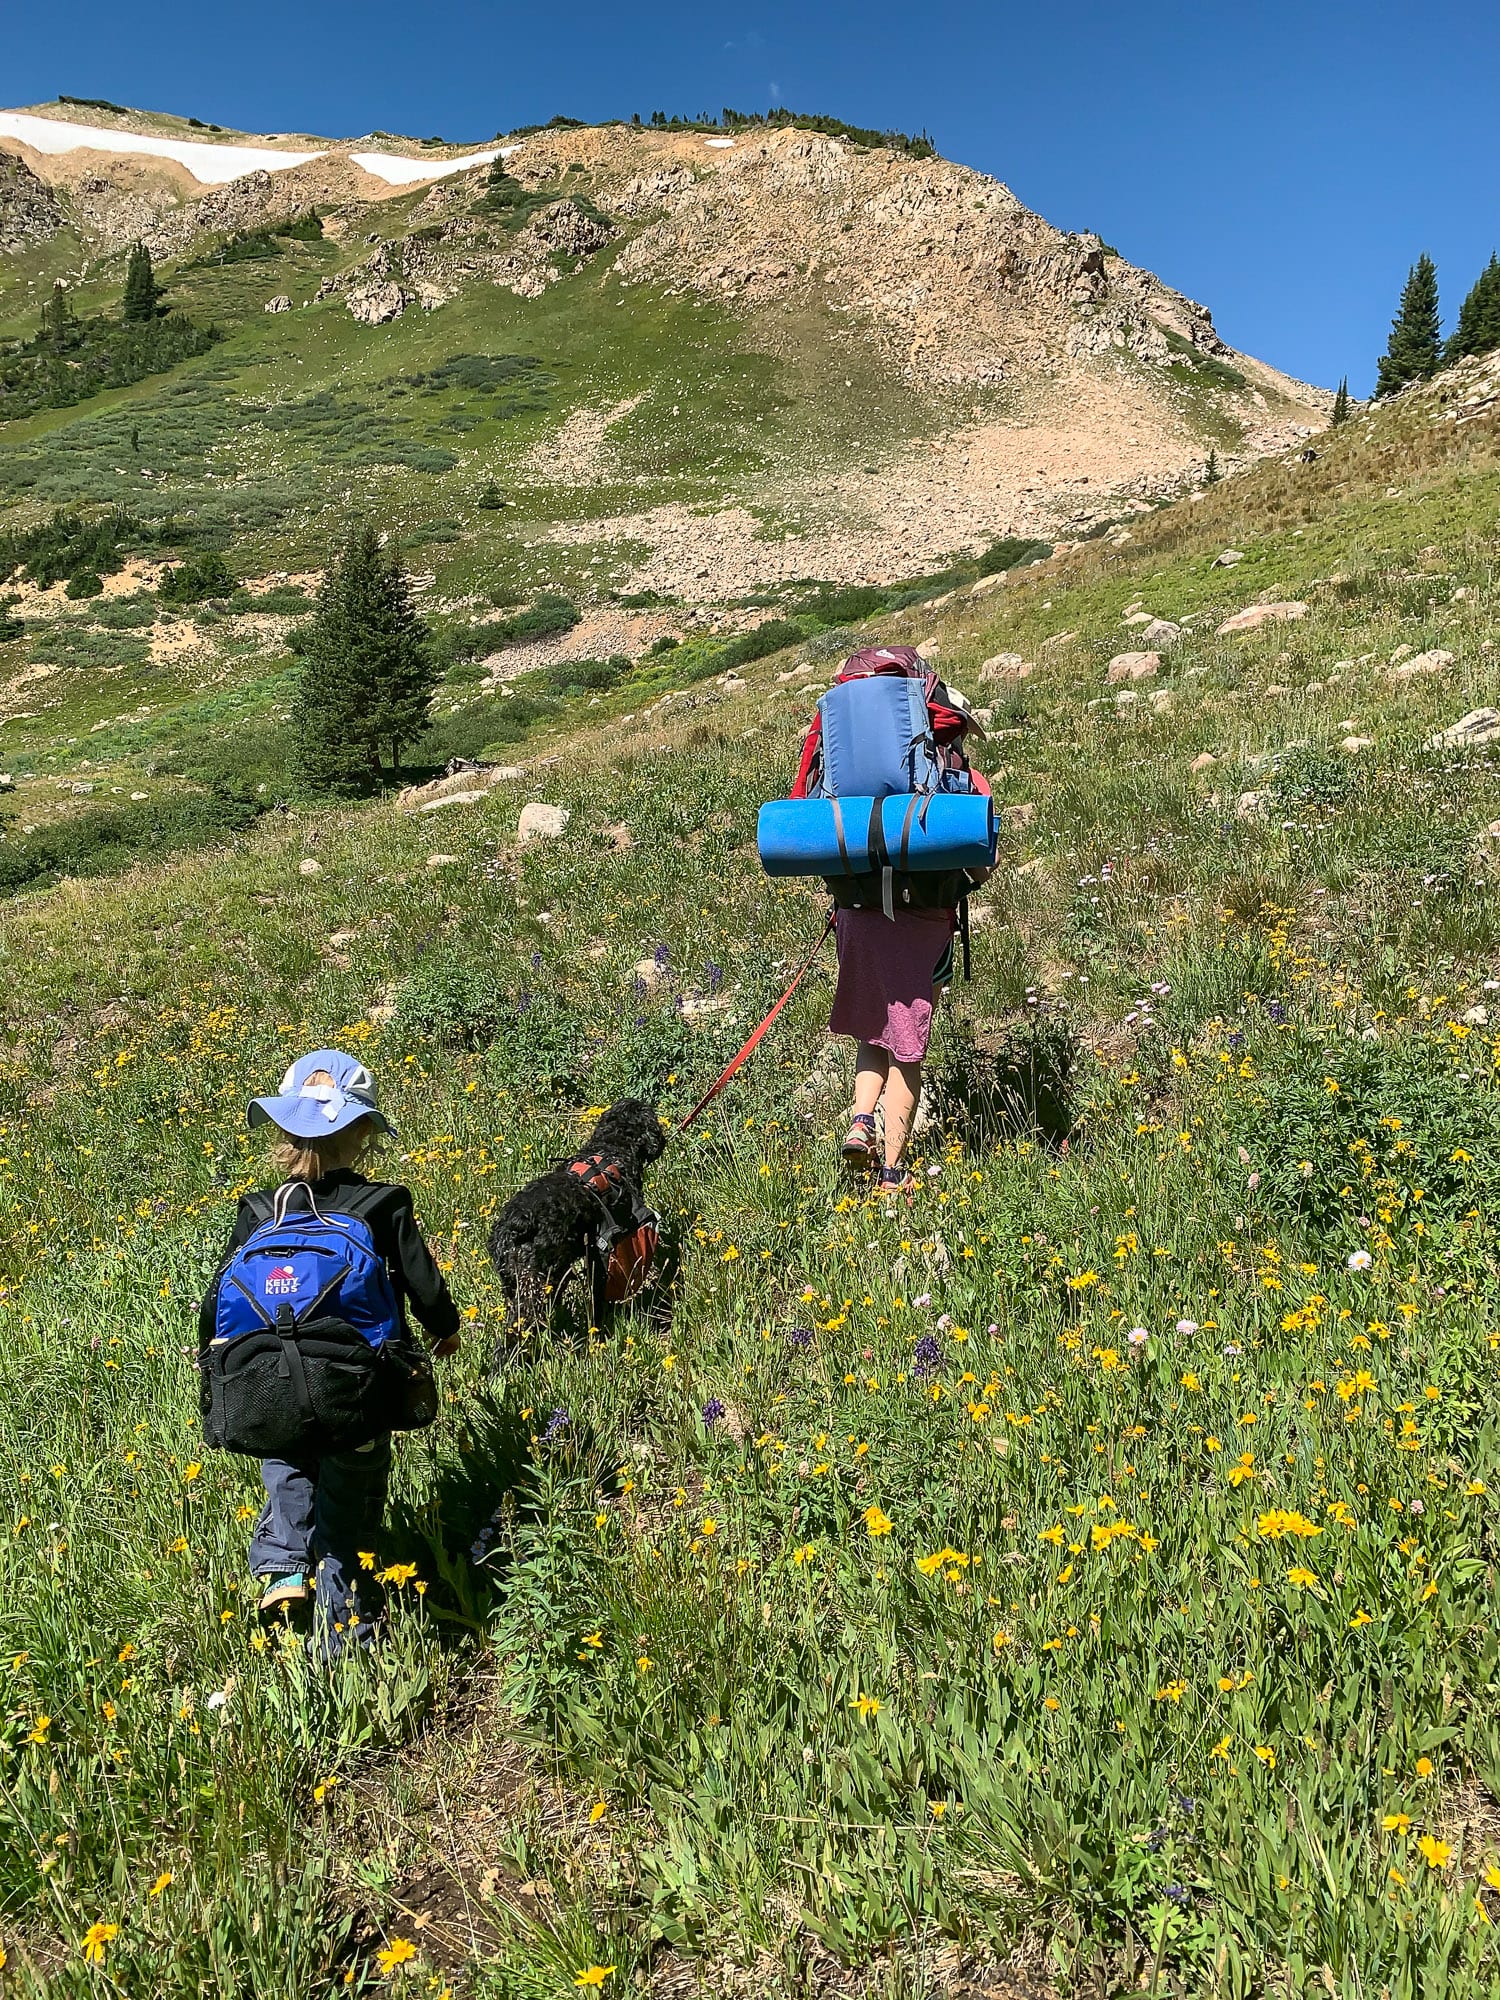
On a backpacking trip, you’ll be grateful if you’ve chosen gear that’s as lightweight as possible and also that’s meant to withstand wet and cold weather. Since there’s no dashing off to a store in case of an equipment fail, it’s critical to choose reliable and durable gear that fits your body well.
Backpack
The absolutely essential piece of gear for backpacking, of course, is a backpack.
In the olden days, external frame backpacks were standard. Kelty still makes that style, and it has certain advantages like stability when carrying abnormal loads. But nowadays most backpacks have an internal frame.
Backpacks come with different capacities, and the right size depends on the length of your trip and the type of gear you’ll carry. Minimalist/ultralight backpackers can get away with less capacity, while winter campers and campers with kids may want room for extra equipment. Be aware that manufacturers may measure volume differently.
Here’s a rough guide as to the pack size appropriate for trips of varying length:
- 1 – 3 nights: 30 – 50 liters
- 3 – 5 nights: 45 – 80 liters
- More than 5 nights: 75 liters and up
The weight of the backpack itself matters, since along with your tent and sleeping bag, it’s one of the heaviest things you’ll carry. Ultralight backpacks may weigh 2 pounds or less, while regular packs can weigh 5 pounds or more.
It’s important to get fitted for your pack to make sure it’s the right size and correctly adjusted for the shape of your body. Carrying an improperly fitted pack can be very uncomfortable. The pack should match your torso height (which doesn’t necessarily correspond to your overall height) and fit your hips (which will be carrying the vast majority of the weight).
Helpful features in a backpack may include:
- Ventilation system
- External attachments points, for poles or ice axe
- Exterior straps, cords, and loops
- Pockets on front, at hips, and for water bottles
- Inner hydration compartment
- Sleeping bag compartment
- Padding, especially on shoulder and hips
- Integrated rain cover
- Removable top compartment for day hiking use
Here are some top models to consider:
- Hyperlite Mountain Gear 3400 (55L) – ultralight (2 lbs)
- Gossamer Gear Mariposa 60 – ultralight (2 lbs)
- Osprey Atmos 65 – extra-comfortable
- Osprey Aether 70 – larger capacity
- Gregory Baltoro 65 – custom fit suspension
- Zpacks Arc Blast 55 – ultra-ultralight (about 1.25 lbs)
- Gregory Paragon 58 – good all-around
- REI Co-op Flash 55 – affordable
- Granite Gear Crown 2 – ultralight, affordable (2.2 lbs)
- Kelty Redwing (36, 44, 50) – extra-affordable
Tent
When it comes to choosing a backpacking tent, you’ll want a smaller, lighter model than you may use for car camping. So, you’ll normally want to buy a tent designed for the exact number of people who’ll be sleeping in it. Backpacking tents have a pretty small interior space compared to car camping tents. It helps to test out your tent before purchase to make sure you’re comfortable with the amount of interior space.
Tents are generally designed for three types of weather conditions:
- 3-season (spring-fall): a good choice for non-wintry conditions
- 3-plus-season: can handle a little snow, yet aren’t at the top of their game in weather at either extreme
- 4-season: designed for serious winter conditions, so may be toasty in warm weather due to poor ventilation
The basic construction method of tents is double-walled vs. single-walled. Most tents are double-walled, especially for 3-season tents. This normally means that the tent has a mesh-paneled inner wall along with a fly, producing superior ventilation and flexibility. Campers can ditch the fly altogether on dry, warm nights. Single-wall construction is often used for mountaineering tents. This construction produces a tent that’s easier to set up, lighter, warmer, and more wind resistant. The downside: condensation tends to form within the tent.
In evaluating a backpacking tent, pay attention to the packaged weight (this includes everything associated with the tent), minimum trail weight (the tent plus the items critical for set-up), and packed size.
Some of the top backpacking tents include:
- Big Agnes Copper Spur – a very-well-reviewed tent; versatile, features 2 doors, and relatively spacious, though not cheap
- Nemo Hornet Elite – comes in 1- and 2-person versions; ultralight, provides excellent protection, and easy to set up, though not particularly spacious and the priciest model listed here
- MSR Hubba Hubba – available in 1-, 2-, and 3-person versions and easy to set up, though not ultralight and a bit expensive
- Nemo Dagger – easy to set up and relatively spacious
- Tarptent Double Rainbow – very lightweight 2-person tent with relatively good space and relatively inexpensive
Other options do exist for sleeping protection besides tents, including sleeping hammocks, bivy sacks, bug shelters, and tarp shelters.
Sleeping bag
Backcountry sleeping bags usually are lighter, more snug, and pricier than their frontcountry counterparts. For backpacking, temperature rating, lightness, and packability are critical factors.
Bags come in three basic categories of temperature ratings:
- Summer: 35 degrees F and up
- 3-season: 15-30 degrees F
- Winter: 10 degrees F and under
Temperature ratings are premised on the assumption that you’re using an appropriately insulated sleeping pad underneath your bag to insulate you from the chilly ground. Many companies have what’s called an EN/ISO rating, which is a more standardized rating system that identifies a comfort rating (temperature for comfortable sleeping) and lower limit (temperature allowing sleeping without waking) for both men and women.
When choosing a bag, err on the side of warmer! If you get too toasty, you can always unzip the bag or stick a leg out the side. A bag liner can make your bag 10-15 degrees warmer—and also helps keep the bag clean. This option from Sea to Summit is highly rated, as is this option from Cocoon.
Lightness and packability are determined partly by bag shape. The mummy style is generally best for backpacking because it has less material, leading to reduced weight. The tradeoff is a snugger fit, which may be less comfortable, especially for side sleepers. Mummy bags usually have hoods to keep your noggin warm. Semi-rectangular bags are also an option for backpacking. They’ll be more comfy, at the cost of more weight. Side sleepers can check out spoon-shaped bags designed with their needs in mind, such as the Nemo Disco 15.
Either synthetic or down may be an appropriate filling for a sleeping bag. Down is generally warmer, lighter, more compressible, and more durable, but down costs more and doesn’t perform well when wet—unless it’s been treated to make it hydrophobic. If you choose down, you may want to look for RDS (Responsible Down Standard) or TDS (global Traceable Down Standard). Synthetic fill tends to be heavier, less compressible, and less durable, since it can lose its insulating ability over time. But important upsides are that it does better when wet, is often less pricey, and it doesn’t use animal products.
Bag size is an important consideration when backpacking. You don’t want an unnecessarily large bag because it will add extra weight. Choose a bag sized long enough that your feet don’t hit the end and compress the insulation there, but not so long that there’s dead space around your feet, since that can cool the bag down. Normally, a bag should be a few inches longer than you. Bags designed for women are a little narrower in the shoulders and wider in the hips than men’s bags. Women tend to sleep a little colder than men, which temperature ratings for women’s bags take into account. Like packs, it’s always helpful to try out the bag in person.
Some additional features are important to functionality. Zipper quality is one. Snag-free zippers are key. For colder conditions, a draft tube and collar provide beneficial insulation around the zipper. Consider whether the zipper allows for unzipping around the feet to let moist air out and prevent dampness. Pockets can be helpful for items like headlamps, phones, and watches.
Last, you’ll need a compression sack for your bag. You can stuff clothes in the sack and use as a pillow.
Some of the top models for backpacking sleeping bags include Feathered Friends Swallow 20 YF, Marmot Yolla Bolly 30 (semi-rectangular), and NEMO Forte 35 – men’s and women’s (budget).
Sleeping pad
When selecting a sleeping pad for backpacking, one critical factor is insulating ability. If your pad lacks adequate insulation, you’ll lose body heat to the ground and your sleeping bag will not perform to its temperature rating. How much insulation you need depends on the weather and whether you tend to sleep warm or cool. Insulation is measured in R-value, a standardized system. The system works roughly as follows:
- R-value 2 and under: very little insulation, so only appropriate for warm weather use
- R-value 2- 4: generally good for three-season camping, down to about freezing
- R-value 5 and up: designed for very cold conditions or particularly cold sleepers
Here are some of the other factors to consider:
- Length: In general, longer pads are more comfortable, but length also adds to weight and bulk. You can choose a short version that allows your calves and legs to hang off the end, but it’s not as comfy or warm. Taller folks may want a pad in the ballpark of 76 inches long, while shorter campers may be fine with a 66-inch-long pad.
- Width: If you’re relatively large or want extra comfort, you can choose an extra-wide model. Side sleepers may also prefer generous widths.
- Shape: Single pads may come in mummy or rectangular shapes or variations. Rectangular shapes add to comfort but also to weight.
- Women’s specific: Women’s-specific models are often wider at the hip area and narrower at the shoulders. Because women tend to sleep colder, these pads may have extra padding for your torso and feet as well as higher R-values.
- Weight: Ultralight air pads and foam pads can weigh less than a pound, but most pads weigh more.
- Packed size: Some air pads pack down extremely small—even to the size of a can of soup.
- Noise: Air pads, in particular, can make distracting crinkling noises, especially when new.
- Material: Textured or brushed fabrics are less slippery than nylon, helping you stay put at night. And a more durable material on the pad’s underside may help prevent punctures (though you’ll sacrifice some on weight). For durability, look for a higher denier, such as 50+; exercise care when using a pad with a lower denier.
- Ease of use: Dual valves are speedier than a single-valve style, and one-way valves also promote ease of use. Ease of use is important in cold temperatures when your hands may be numb.
The two main types of sleeping pads appropriate for backpacking are air pads and closed-cell foam pads.
Air pads are comfy, lightweight, and compact. Some air pads come with a pump sack/inflation bag to make inflating easier and to avoid introducing moisture into the pad through your breath. An air pad must be stowed inside your backpack to avoid accidental punctures or damage. Because air pads are more prone to punctures than other kinds of pads, it’s critical to bring a patch kit (which pads usually come with). Four excellent choices are the Therm-a-Rest NeoAir XLite (available in a women’s model), the NEMO Tensor Insulated Sleeping Pad, the Sea to Summit Ether Light XT Insulated – Women’s, and the Klymit Static V2 (wallet-friendly).
Closed-cell foam pads do not inflate but rather are made up of super-dense foam with miniscule closed air cells. Advantages: these pads are lightweight, relatively inexpensive, and durable in the sense that there’s no risk of springing a leak, though they can compress some over time. Backpackers will appreciate the ability to sit on a foam pad outside of the tent. Downsides: they’re less comfy and compact than air pads and won’t keep you warm in very cold temperatures. The Therm-a-Rest Z Lite Sol is widely recognized as the top choice among foam pads, and the Nemo Switchback is a solid runner-up.
Water purifier/filter
Backpackers normally can’t carry all the water they need, so they must camp near a water source and purify water. Streams, rivers, and ponds—even those with water that looks perfectly clear—can be contaminated with Cryptosporidium, Giardia, bacteria, and viruses, which come from human or animal fecal waste. Drinking untreated water from these sources can cause vomiting, diarrhea, and cramps, among other unpleasant possibilities.
There are several main ways to ensure water is safe to drink:
- Boiling water at a rolling boil for at least a minute (and at least 3 minutes above 6,500 feet)
- Filtration (not effective for viruses) and purification
- Disinfection with chlorine dioxide (not highly effective for Cryptosporidium; can affect the taste of water; and doesn’t filter material out of the water)
Water filters strain the pathogens that are the main issue in the United States and Canada, though they don’t eliminate viruses. Water purifiers address both pathogens and viruses.
Filters come in several styles: gravity, pump, bottle, squeeze, and straw. Purifier styles include gravity, pump, ultraviolet, and bottle. REI has an excellent guide to water filters and purifiers. Switchback Travel, CleverHiker, and GearLab comprehensively review backpacking filters and purifiers.
Stove
Your standard campground stove clearly isn’t an option for backpacking, but several other types of stoves can work well for backpacking.
Canister stoves screw onto isobutane/propane fuel canisters. They’re compact, lightweight, affordable, easy to use, boil quickly, don’t pose a significant wildfire risk, and don’t require priming. The downsides are that they’re not particularly stable and they’re not great in wind or extreme cold. A great canister stove choice is the MSR PocketRocket 2.
Integrated canister systems like the Jetboil Flash lack an open burner—instead, they feature an integrated design with a boiling pot that attaches to a stove that connects to fuel canister. They’re great for simple meals that require boiling water—like lots of backpacking meals. These systems are lightweight, easy to ignite, portable, and boil quickly. But they’re somewhat more expensive, may lack the ability to control simmering, and can be susceptible to tipping over.
Liquid fuel stoves like the MSR WhisperLite normally use white gas. They’re heavier and bulkier than canister stoves, require priming and maintenance, and fuel spills are possible. But they work well in extreme cold and at high elevation—important for some backpacking destinations—feature good simmering ability, and are sturdy.
Solid fuel stoves use a fuel tab. They’re compact, lightweight, and simple, but have slower cooking times, are smelly, and leave residue on the bottom of pots. An example is the Esbit Solid Fuel Stove and Cookset.
Wood-burning stoves score points for using a renewable fuel source. Downsides are that they’re not easy for beginners to use, wood is not be available in all camping areas, and they may be subject to fire bans. An example is the Solo Stove Lite.
Clothing
You don’t need clothing specially designed for backpacking, but you do need to think carefully about what types of clothes to pack. Your clothes should be made of appropriate fabrics—wool, polyester, nylon—never cotton. Depending on weather conditions, your wardrobe may contain a base layer, an insulating layer, rain jacket, rain pants, hiking socks, boots or hiking shoes, camp shoes, underwear, bra, sun hat, beanie, gloves, neck warmer, and sleepwear. Clothing with built-in sun and insect protection is a bonus.